Wednesday, November 23rd, 2022
Have you always wanted to learn how to make a bow? Now’s your chance!
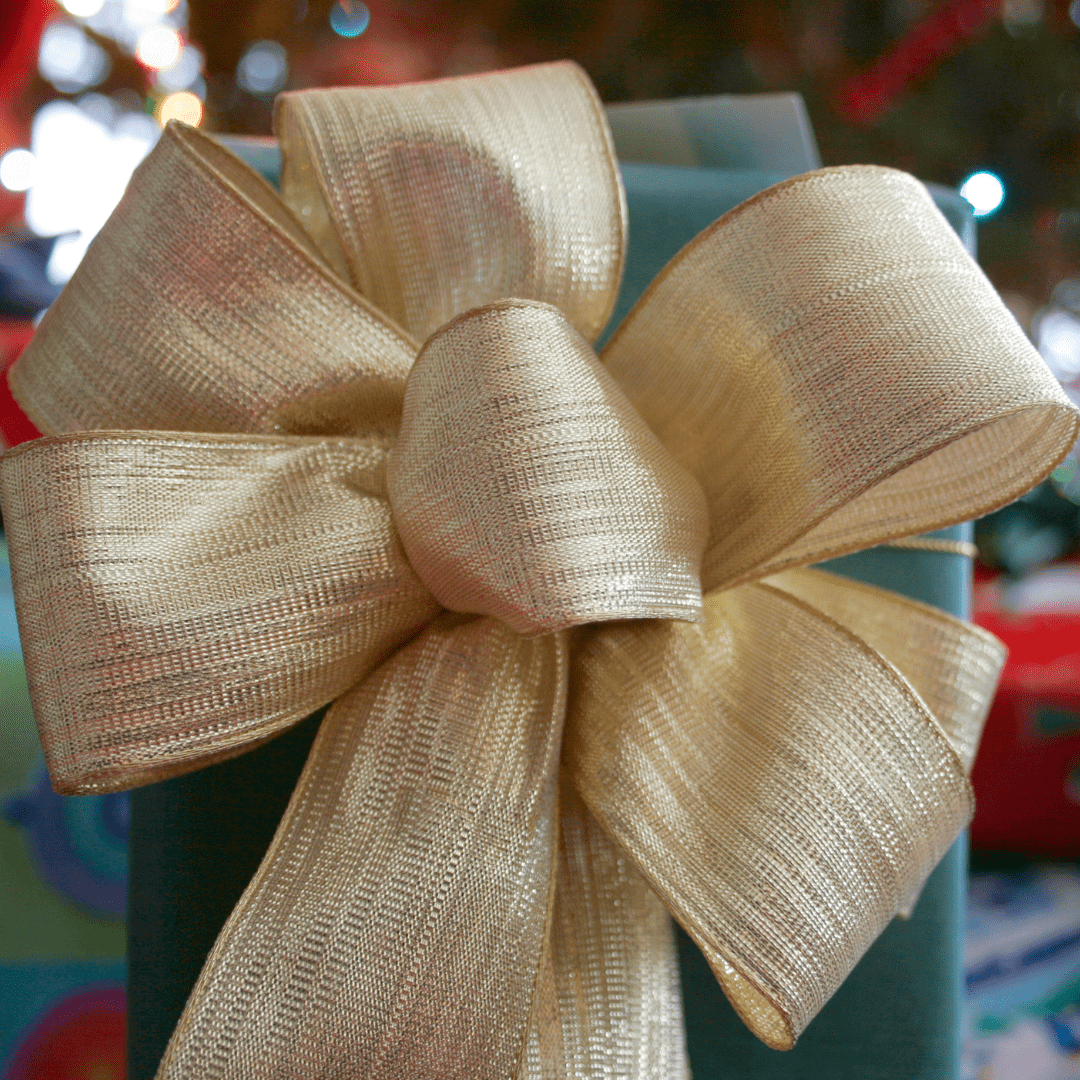
In the video below we walk you through our bow making process here at Vermeer’s so you can feel confident making your own bows at home.
Step 1 – Decide what ribbon you would like to use.
Step 2 – Measure out 3-4 yards of ribbon depending on how big you would like your bow to be.
Step 3 – If your ribbon has a distinctive pattern, turn the patterned side so that it is facing away from you.
Step 4 – Create the loop that will appear in the center of your bow and turn the remaining ribbon 180 degrees so that the patterned side is now facing you.
Step 5 – Make a similar or slightly larger loop on both sides of the center loop. With every loop you make, be sure to turn the remaining ribbon 180 degrees.
Step 6 – Make an even larger loop on both sides of the center loop. These two loops should be the same size as one another. You should now have a total of 5 loops.
Step 7 – Make another loop on each side. These loops should be the same size as loop 4 and 5.
Step 8 – Make one more loop on each side. The size of this loop depends on how much ribbon you have left and how long you would like the tails of your bow to be.
Step 9 – Make the tails of your bow by making one large loop with the ribbon that remains.
Step 10 – Slide a wire through the loop in the center of your bow and through the center of the tail loop. Twist the wire as tight as possible to prevent your bow from unraveling.
Step 11 – Once your bow is secured with wire, cut the tail loop diagonally. Your bow is now complete!